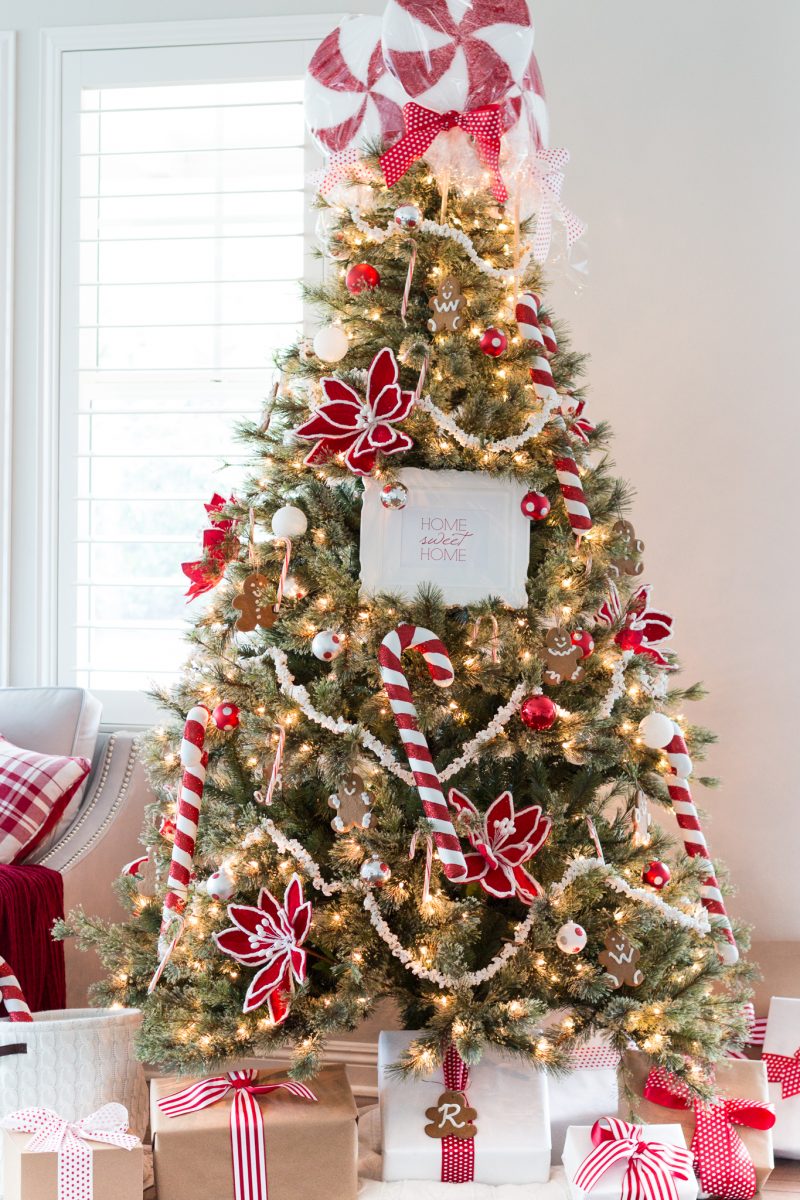
Recently I revealed my Dream Tree with Michaels. This year, I was inspired by a tree my parents have always created and being that it’s the first Christmas in our new house, “Home Sweet Home” seemed fitting. Many of you sent emails asking about the peppermint tree toppers so I wanted to share a very easy tutorial. My daughter and I made these together. Actually my son jumped in too and you don’t need major DIY skills to pull these off. Here is a quick and easy way to create peppermint tree toppers for your sweet tree (these would also be cute for party decor)!
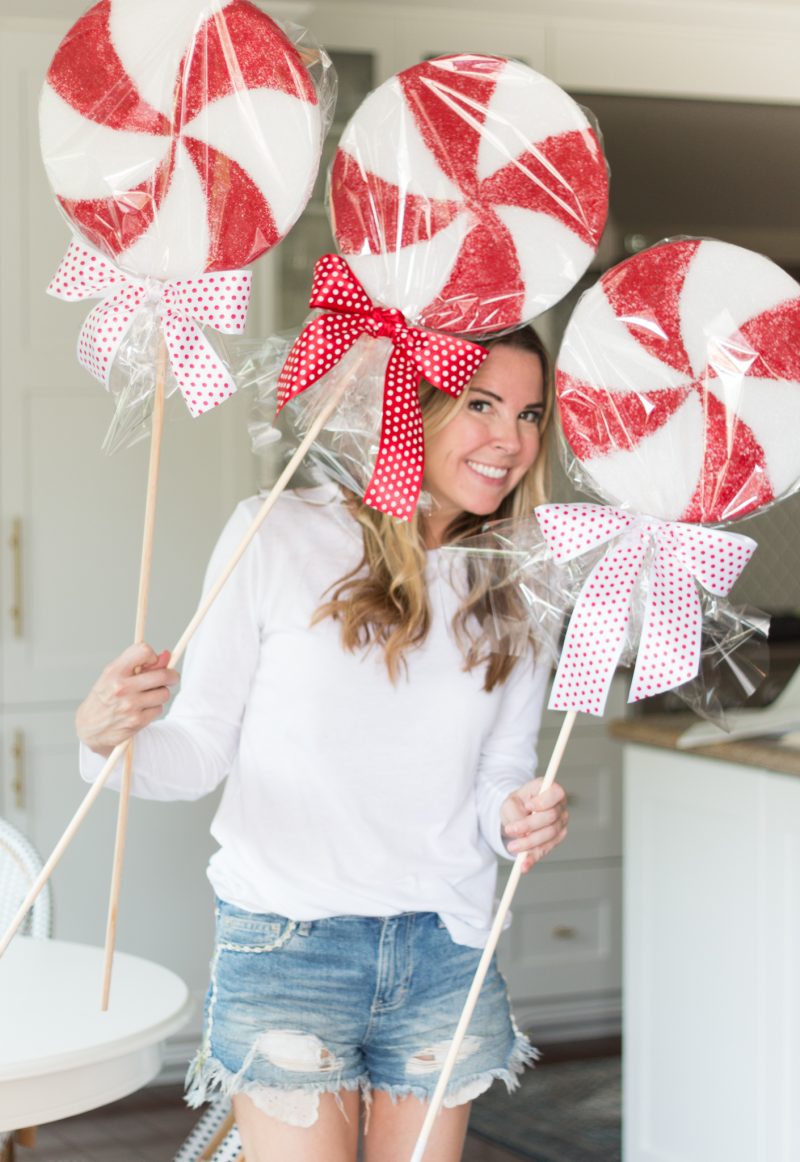
We nestled these in the top of our tree. I did tape a piece of string to the back of each one and tied them to a branch just to keep them safe and sound. It was a bit tricky trying to lean into the tree on a ladder so be sure you have someone helping you balance if your tree is very tall.
SUPPLIES
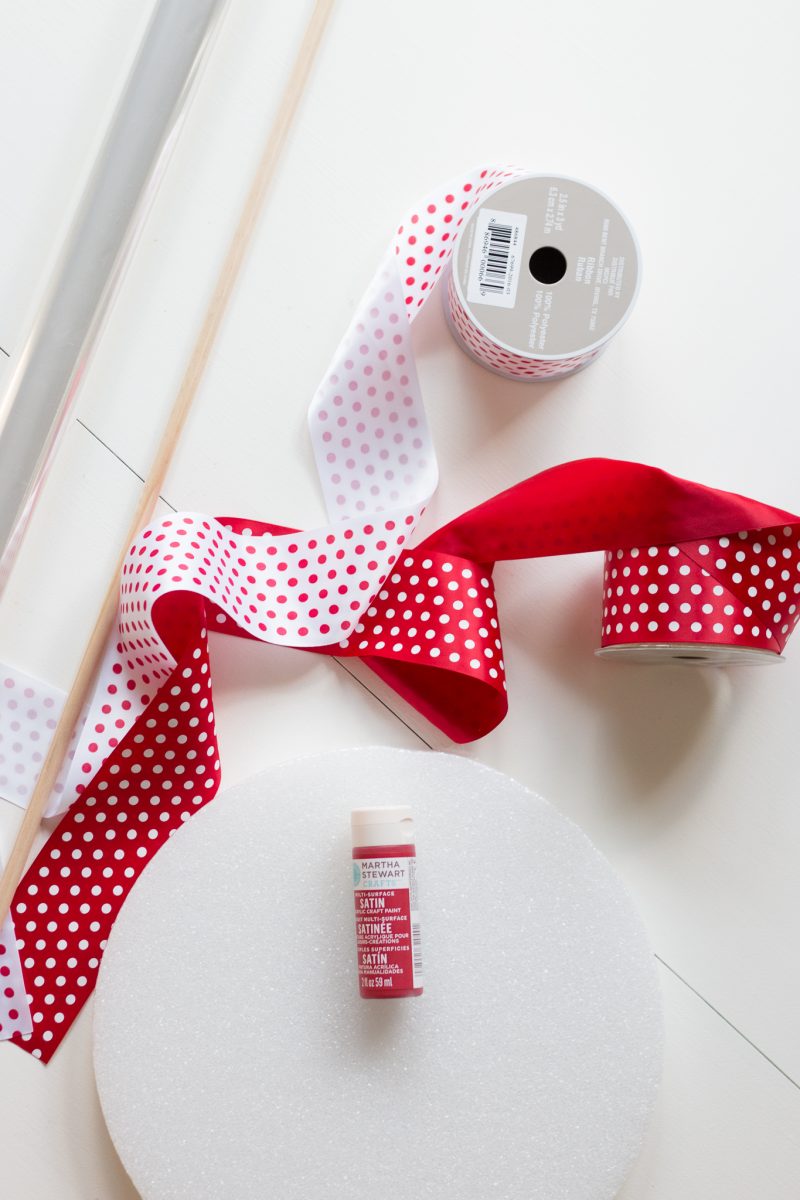
I picked all of my supplies up from Michaels.
- 3 styrofoam disks
- red craft paint
- cellophane
- 3 wooden dowels
- coordinating ribbon
- drill
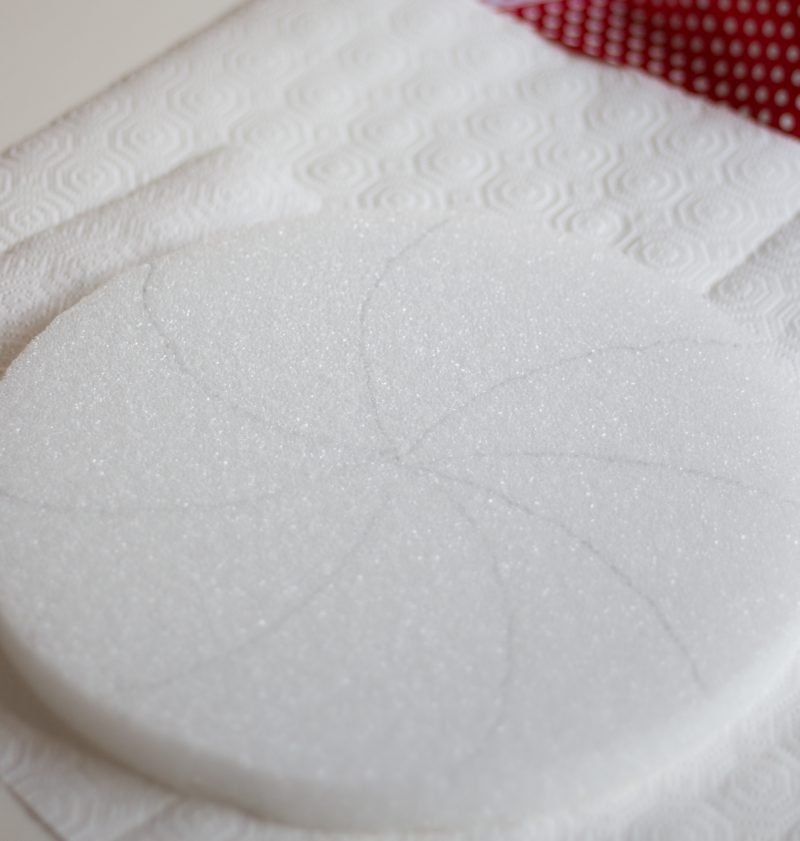
STEP ONE
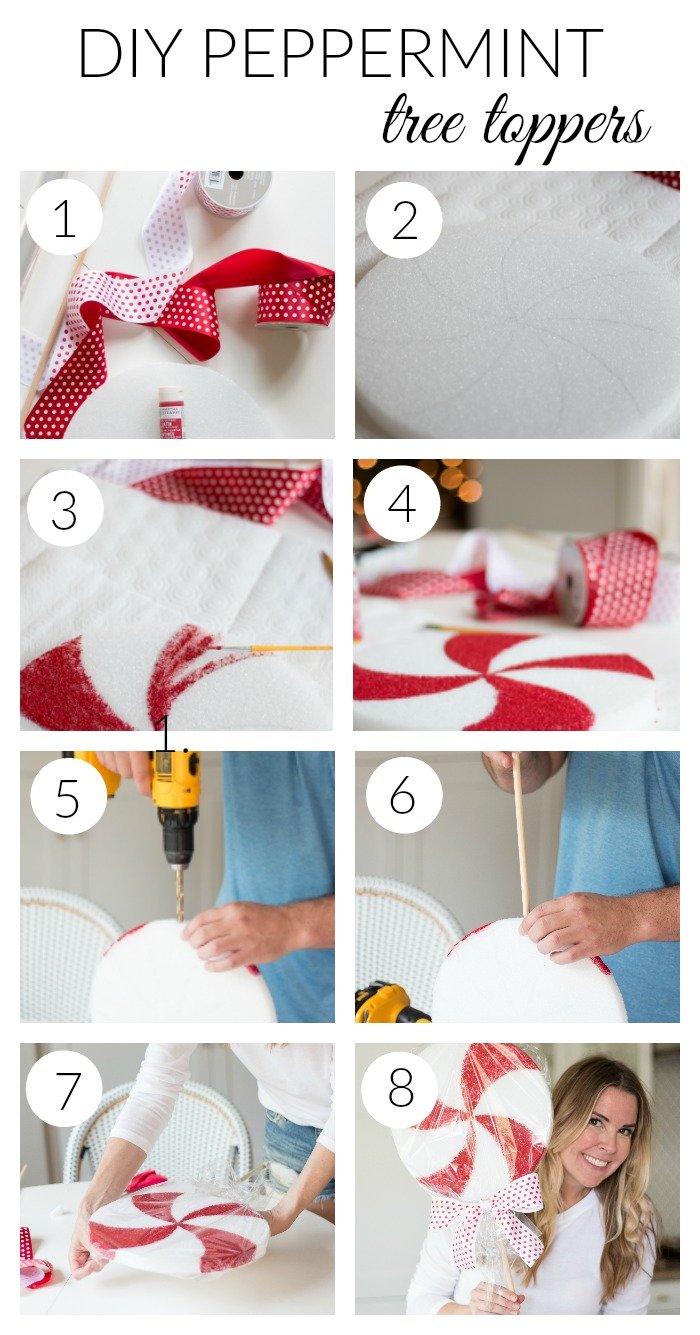
Using a pencil, place a dot in the center of the disk. Then draw 8 arcs evenly spaced apart. It’s easier than you think. If you mess up the first time, just flip it over!
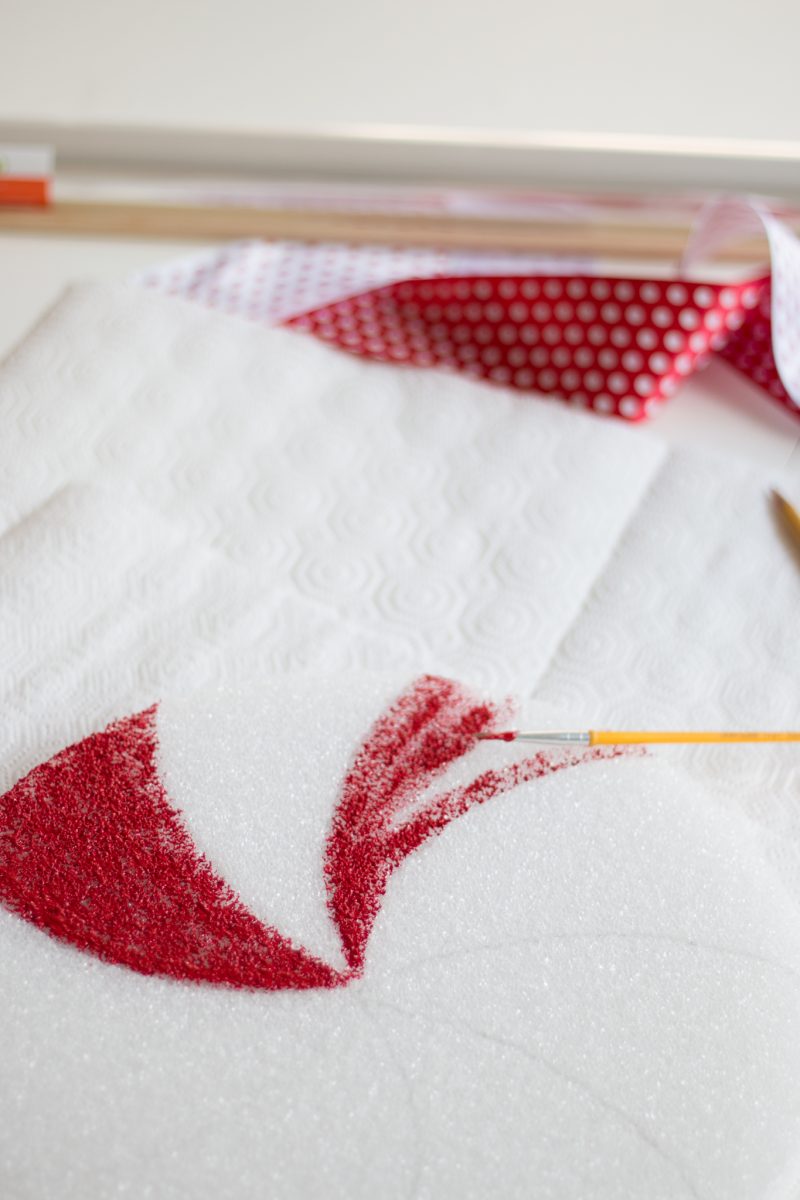
STEP TWO
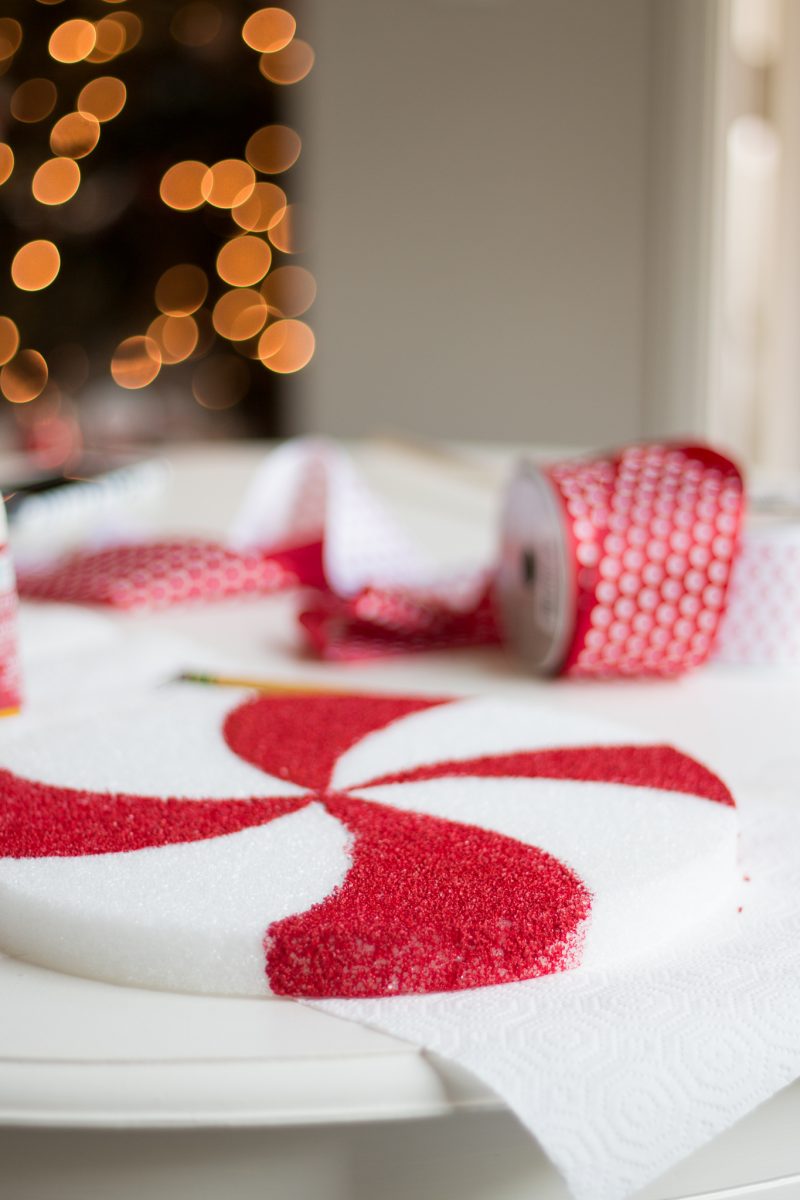
Carefully outline every other section with red paint.
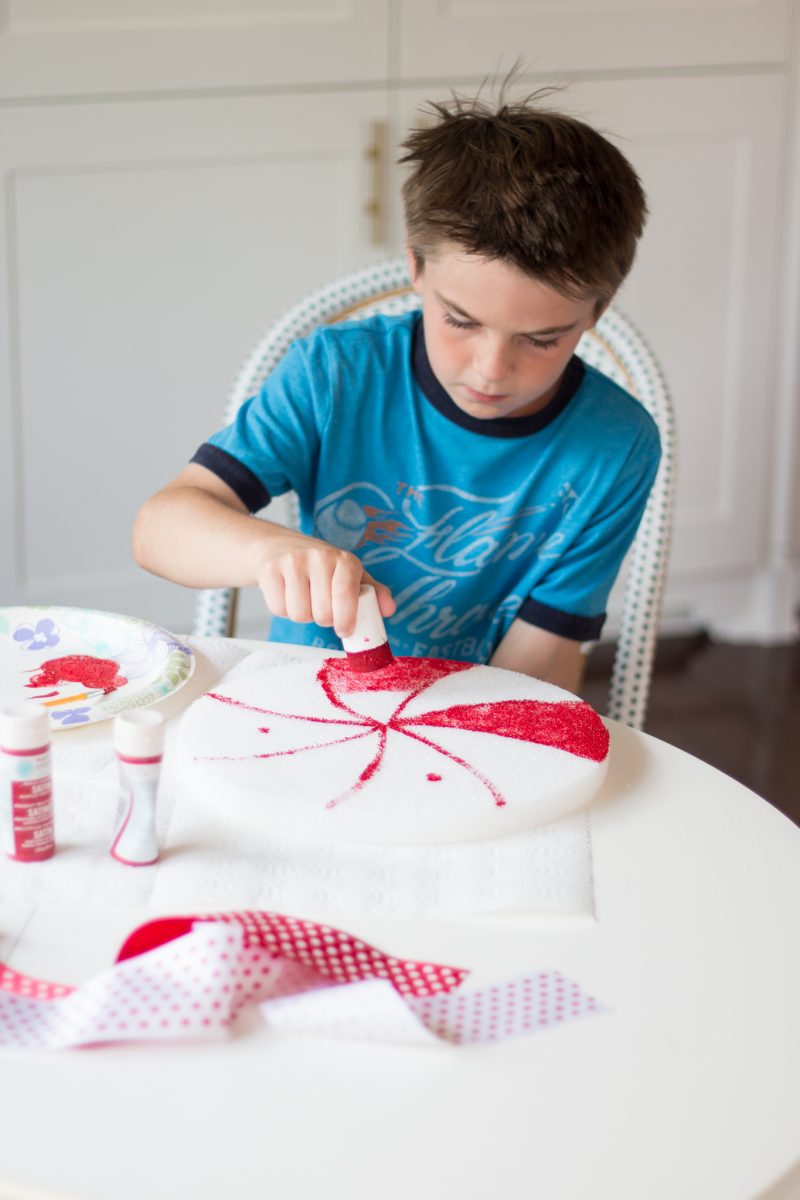
STEP THREE
Enlist helpers! My kids loved painting these and felt a part of this project. I placed a dot in each of the four sections that needed to be painted to avoid any, “Oops!” moments. Then they used my favorite sponge dabbers ( I used the Martha Stewart ones from Michaels). They are much easier to paint styrofoam with. It takes a bit to fill it all in but the children enjoyed it.
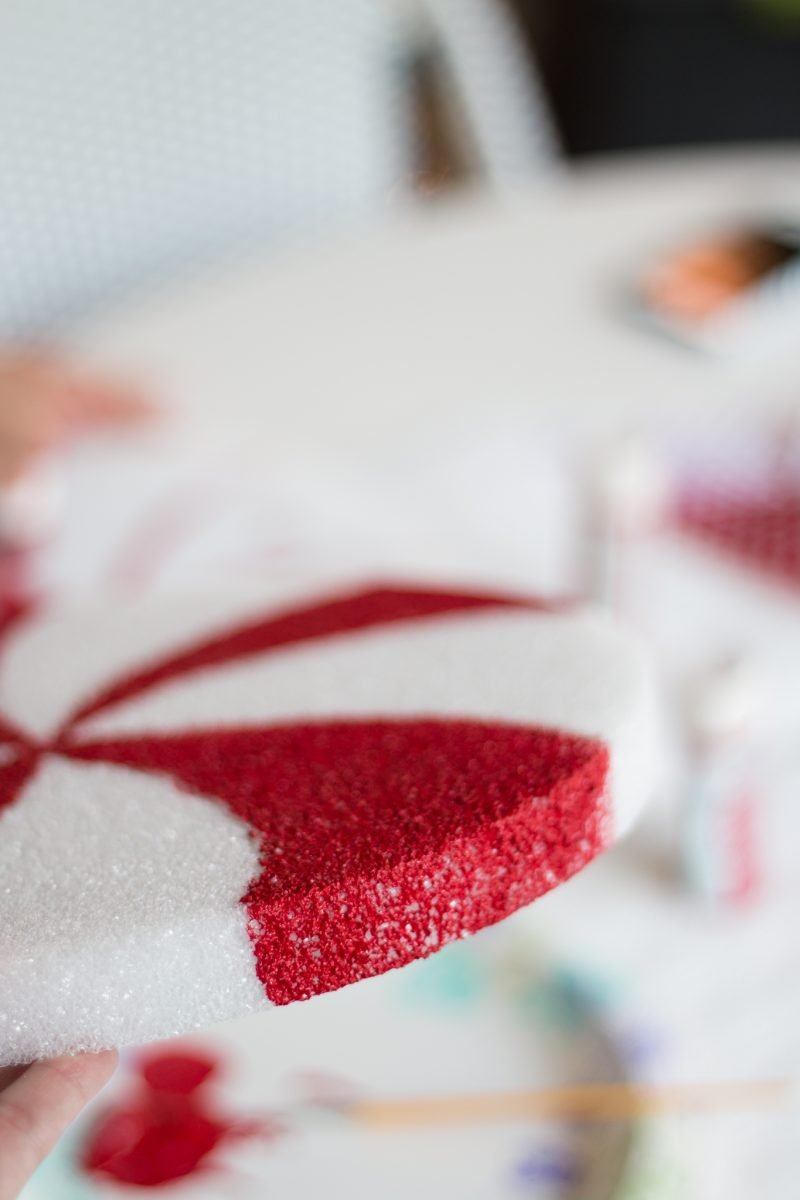
Be sure to paint the edge of each of the four sections, too.
STEP FOUR
Allow these to dry for a few hours. We set them outside and went on some errands. Just be sure you allow enough time for them to fully dry.
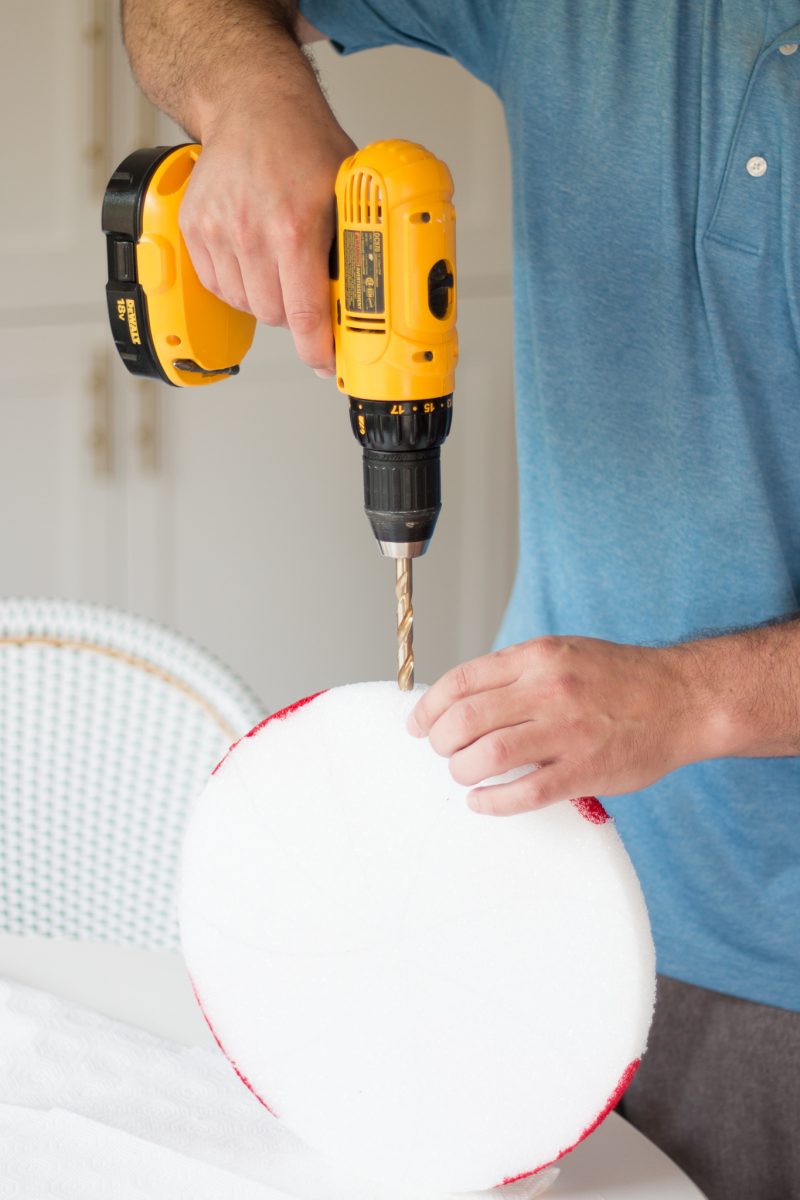
STEP FIVE
To make things easier, we (and be we I mean, he) drilled a hole into the styrofoam. We were afraid that if we simply tried to insert the wooden dowel it could break the styrofoam.
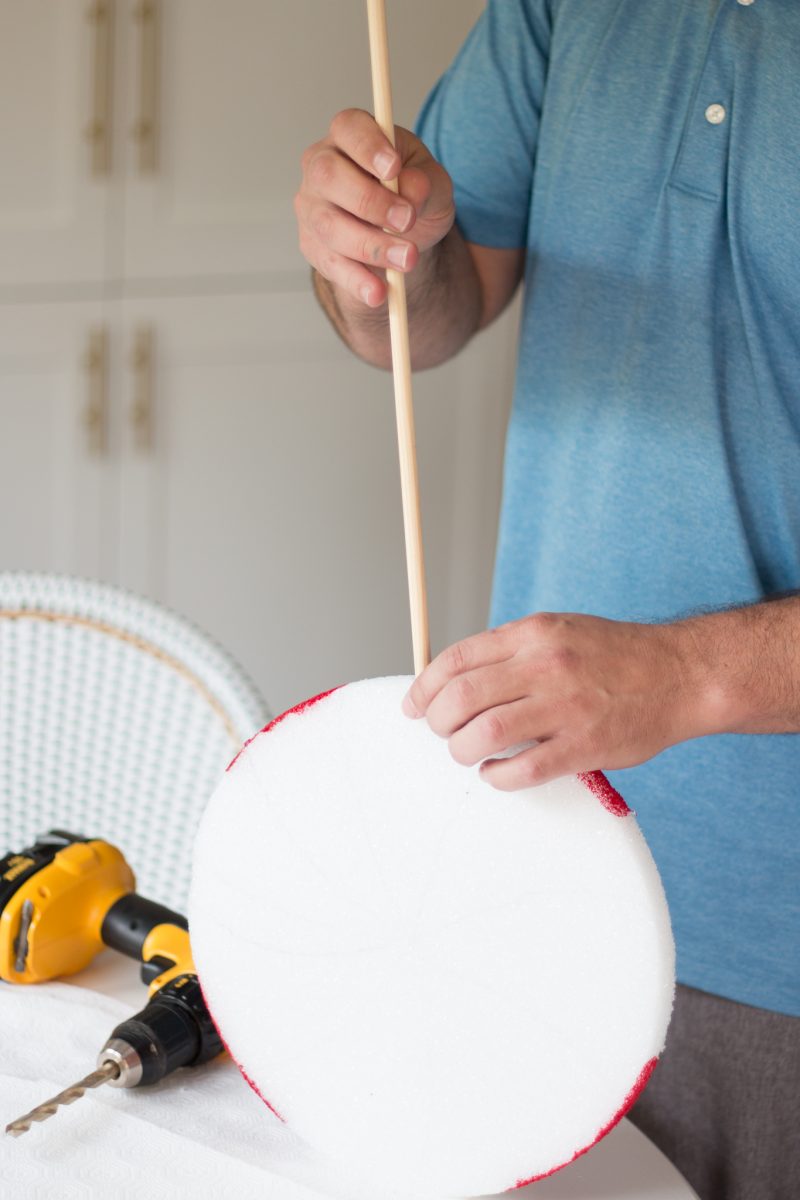
STEP SIX
Insert the wooden dowel. We did not need to use glue, but you could always do that if they are not snug.

STEP SEVEN
Wrap each peppermint in cellophane. Allow enough to tie a bow and still have enough to stick out beneath the bow. They look super cute when all put together. Be sure to smooth the cellophane out on the front side and allow the access to be wrapped around the back.
STEP EIGHT
Cut the peppermint toppers to the height the works best for your tree. We cut about 18 inches off of our wooden dowels so that the sticks weren’t too long for our tree. If you are using these for another purpose, such as a candy party, you may want to leave them as is.
Let me know if you give these a try. They really were super easy and fun to make. I hope your week was a good one. We baked cookies last night for our Advent activity and I’ve already eaten two of them this morning. Tis the season, right?! Oh, boy.
Let’s do this, Friday! Off to spend time with my sweet mom.
More Christmas Ideas Below:
How to hang wreaths on the stair (video)
Delicious Black Bottom Cupcakes
That is just one of the cutest crafts I’ve seen! I’m really tempted to try it, or have my husband try it as he would make it just right:)
I love these how cute 🙂
Your darling blog is just a breathe of fresh air! I have been reading it daily for year. This craft is so cute and your tree is beautiful! 🙂 Happy Holidays!
These look so colourful and bright and different way to decorate the Christmas Tree. Thanks for sharing with us at Over the Moon Link UP.
Very cute idea!! I hope you will stop by to share them with us at The Crafty Corner link party 🙂
This is so adorable.
This is such a cute idea! Love your Christmas tree! Thanks for sharing your tutorial at Motivation Monday on Mom Home Guide!
Super fun idea. Very mint! 😉 I love to see alternative ideas as tree toppers. Visiting from Pretty Pintastic Party.
These peppermint tree toppers are absolutely adorable! Making them for next year! Thanks so much for the inspiration!
Ahhh! This is so cute and clever; I adore it! Thanks for sharing with us at Funtastic Friday! Pinned 😉
I love this idea! Your tree is really pretty! Thanks for sharing at the Inspiration Spotlight party. Pinned Shared. Happy Holidays!
Just wanted to let you know you’ll be featured at this week’s Funtastic Friday party! Thank you for linking up!