Just the other day a sweet reader reached out and asked me if I had any advice about prepping for construction. She saw we were remodeling our daughter’s bathroom and is about to embark on a couple of bathroom renovations of her own. I wanted to say, “Girl, how long do you have?” By no means am I an expert and each and every time we tackle a project I learn something new, usually from my mistakes. I thought it would be helpful to pass along tips we’ve learned after living through quite a few projects in our home. Here are our best advice for preparing your home (and minds) for a home renovation.

BE PREPARED
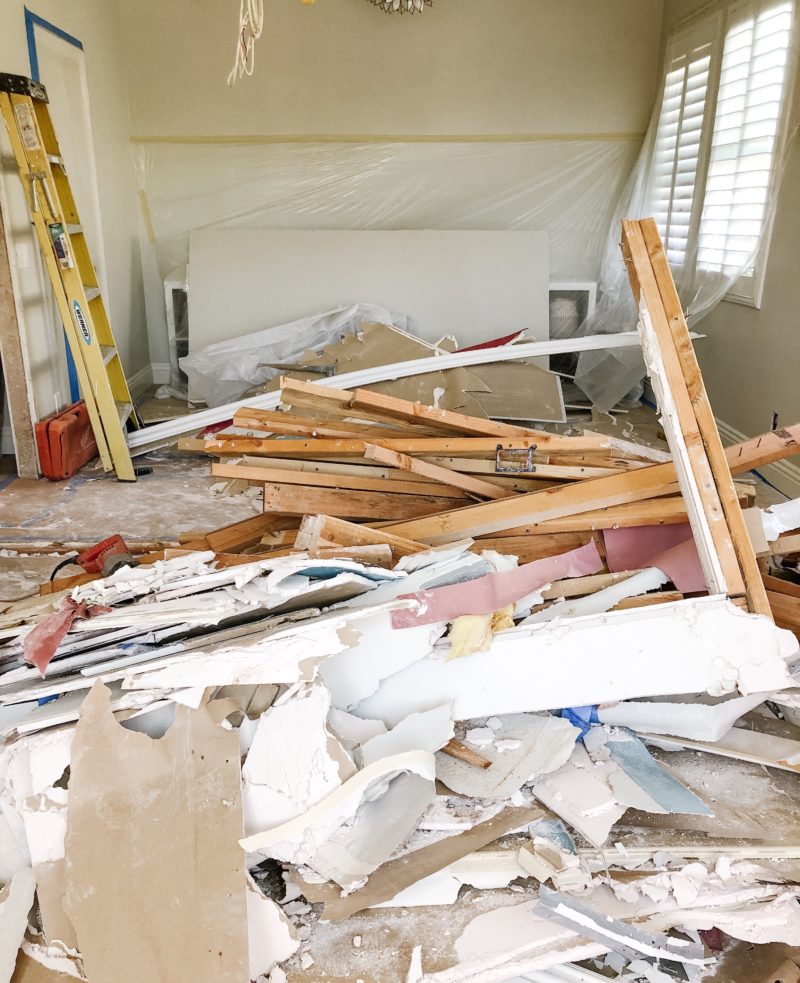
We take on many projects ourselves and we also hire out. It all depends on the skills required, time involved, and our budget. I will say that when we hire someone to come in, that is by far the messiest. It’s mainly because they are most likely removing drywall and that is impossibly messy. Take for instance the time I said, “Hey, let’s tear down a wall between two rooms!” It seemed so simple in my head. The reality was far different and a huge mess.
MENTALLY PREPARE
After living through a myriad of projects, I think your mindset is key. Of course it all depends on the scale of your renovation, but any type of home improvement is disruptive. It just is. And whatever you are thinking it might entail, double that mess in your head. Just settle into knowing things will feel out of sorts for the length of the project. If you can come to terms with that, it can actually add to the fun of the process. I constantly remind myself there will be light at the end of the tunnel and that day is so much fun.
Let go of the clean house and accept the mess. if you’re like me, drop cloths are a sign of progress and change and I love that. But also know that while it’s really exciting for the first few days, it VERY quickly wears on everyone. Having people in your home, no matter how hard-working and lovely, is a shift in the balance. There is also a lack of privacy that can be a bit draining. Try to carve out a time you can leave and breathe for an hour or so. Maybe tag team with your spouse. And by all means, have someone home to keep an eye on the progress and field any questions. You don’t want to walk away and come back to find something was incorrectly tiled because you weren’t there to explain your vision.
Also stay on top of meal planning and grocery shopping so that you are not having to run to the store at the end of the day when your patience is shot. It’s also nice to offer your construction crew cold waters and snacks every now and again. Keep your expectations for each day in check and definitely go with the flow. Problems will arise and that is to be expected. In fact, if you fly through a renovation without one, consider yourself very lucky and quickly go buy a lottery ticket. While a proper mindset will save your sanity, let’s jump into saving your space.
REMOVE AS MUCH AS POSSIBLE
Try to clear the space of pretty much everything. Take for instance the bathroom we are currently remodeling. It is connected to our daughter’s bedroom. Because tile and walls were coming down, we knew the dust and mess would be immense. That dust gets EVERYWHERE. If you have the luxury of moving someone to another room, please try to do that. We took our daughter’s mattress out and she slept in the teen room for three weeks. We were fortunate she could be in there. Maybe your kids can bunk up together or you can have someone sleep on a sofa?
COVER EVERYTHING
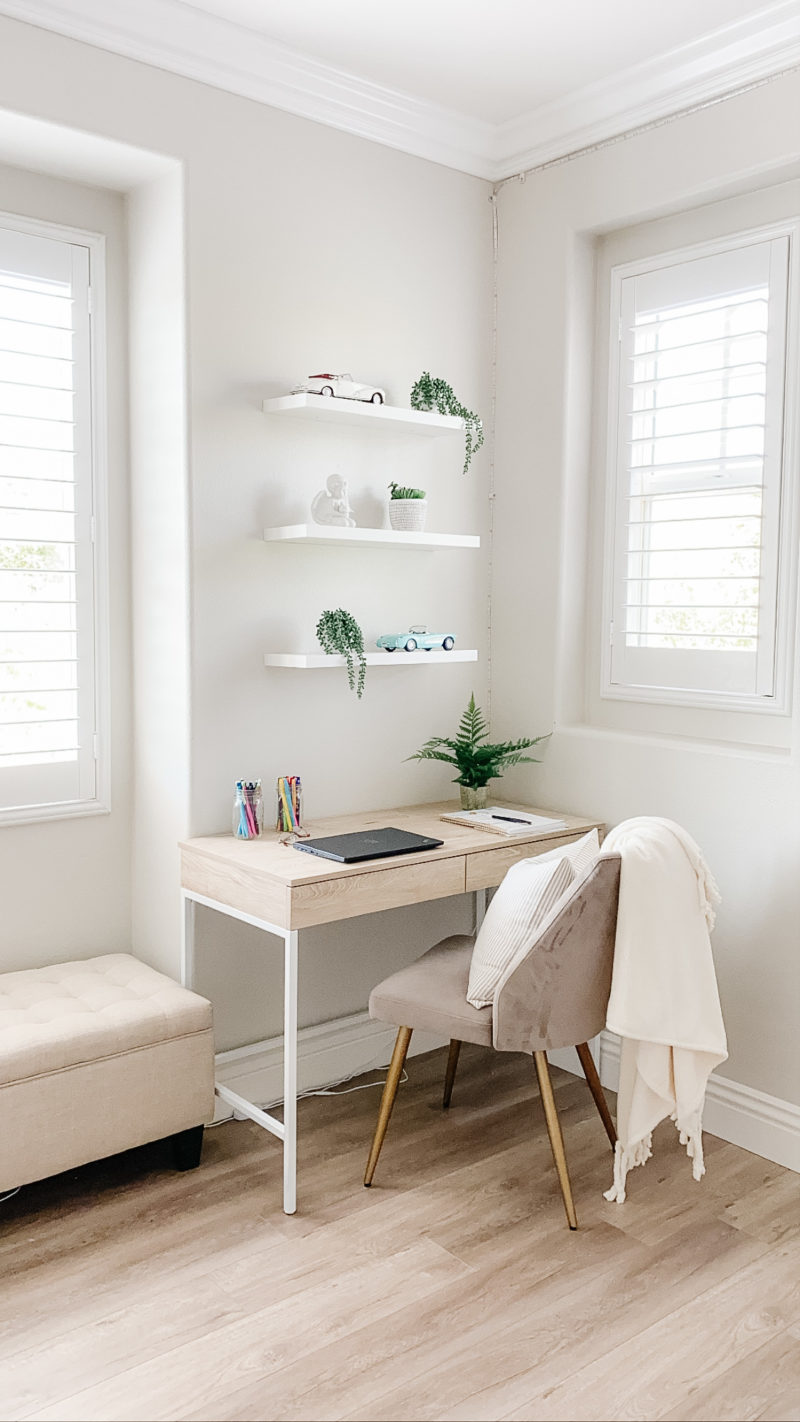
To prep her room we took everything off the shelves and moved the chair out. That ottoman you see got tucked under the desk and it was all covered in plastic. Anything left in the room (dresser, desk, bed) were covered with plastic by our contractor. Definitely remove the bedding if you don’t plan to sleep in the space. Then go to the adjacent hallways or areas close to the renovation site and do the same thing. You will be shocked at how far the dust travels. Remove any loose items and store them away. Cover as much as you can with plastic. You will be so thankful later.
GET USED TO THINGS BEING MESSY
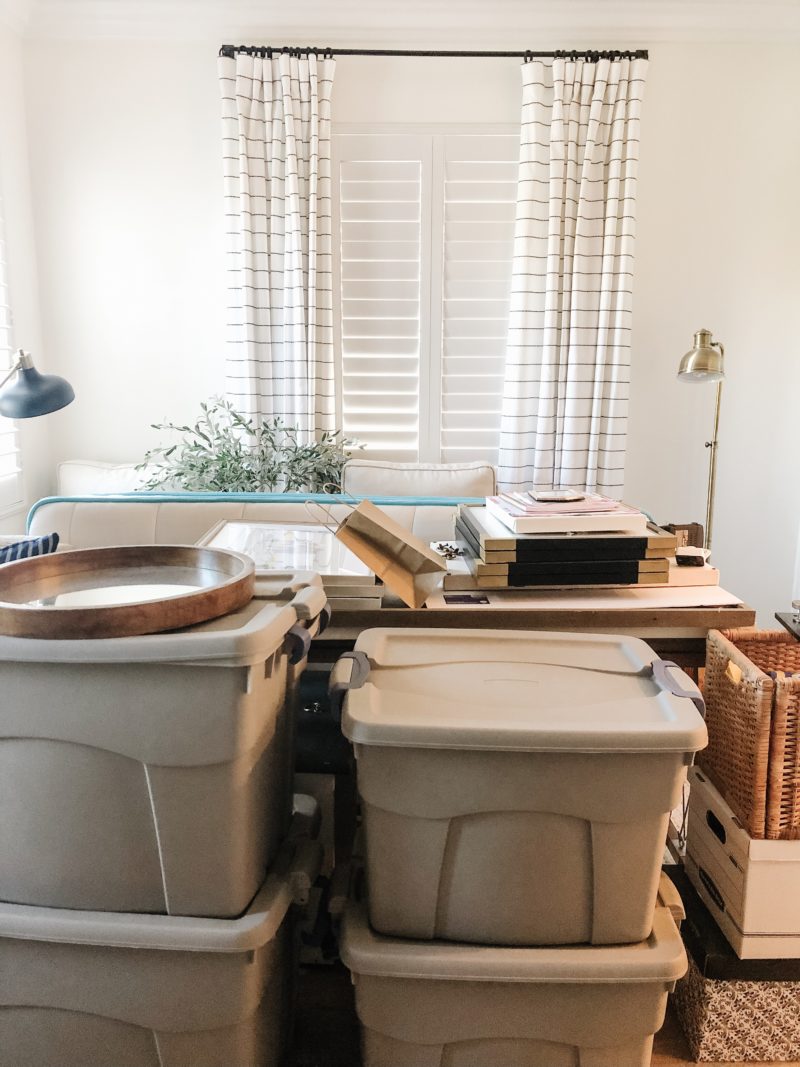
When we removed the wall between two rooms upstairs, we packed up those rooms in bins and put them in our master bedroom. Needless to say our bedroom looked like this for far too long. All part of the process. Just be sure to plan out where you can store things and then let the mess go. It’s only temporary.
CONSIDER A PLASTIC WALKWAY
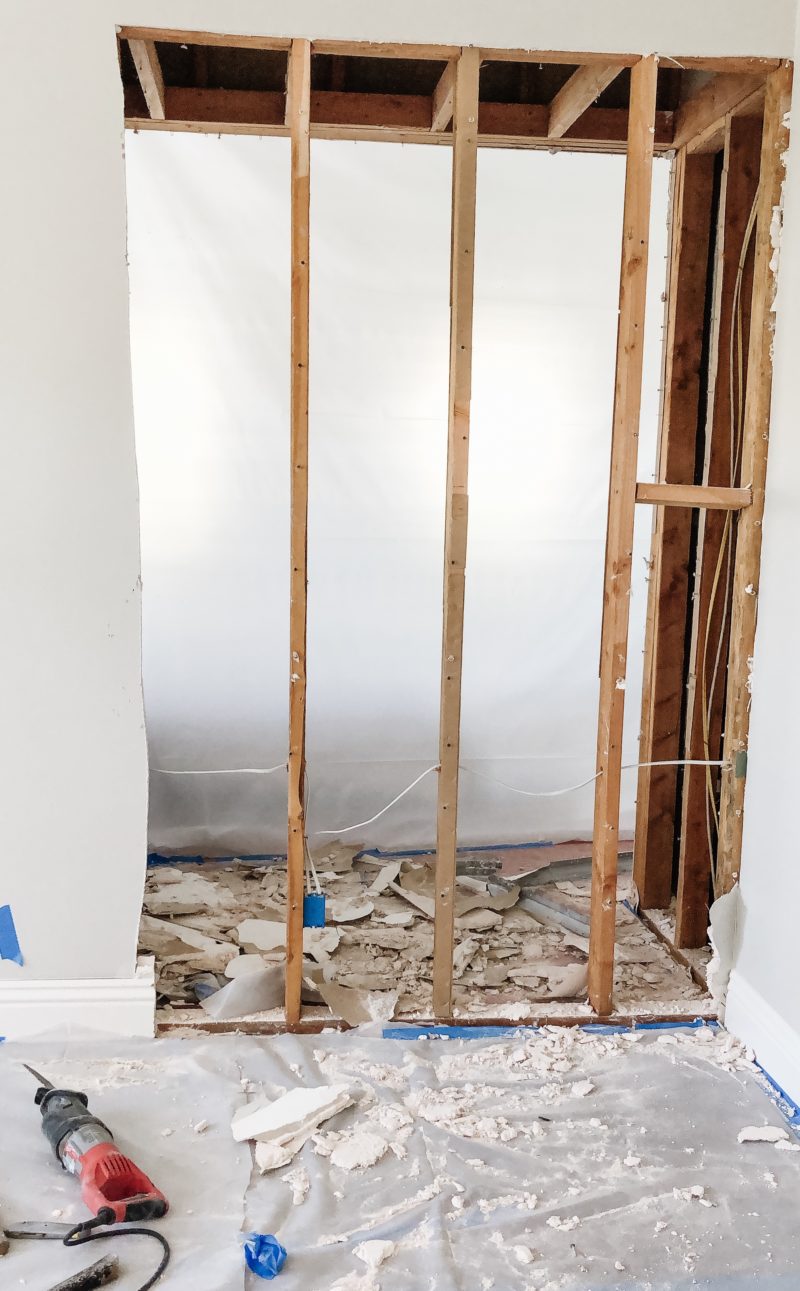
When having major work done, absolutely hang plastic from the ceilings. Your contractor should do that. Having said that, they don’t always do a great job. You have to be on top of that. The plastic should be continuously taped along the floor and ceiling. Gaps will allow all of the dust through so what’s the point? You can even have a zipper installed in one of the plastic pieces to create a door to walk through. That may be very helpful depending on the traffic flow during your renovation. If you have ever painted a room, you know that the prep work is by far the hardest part. That goes for renovations. Take the time to prep. It can often take a half day or even a full day so be expecting that. It’s so worth it. I learned the hard way that it’s good to speak up. If you don’t think things are prepped enough, say something. I’m working on that.
BE CAREFUL WITH STAIRS
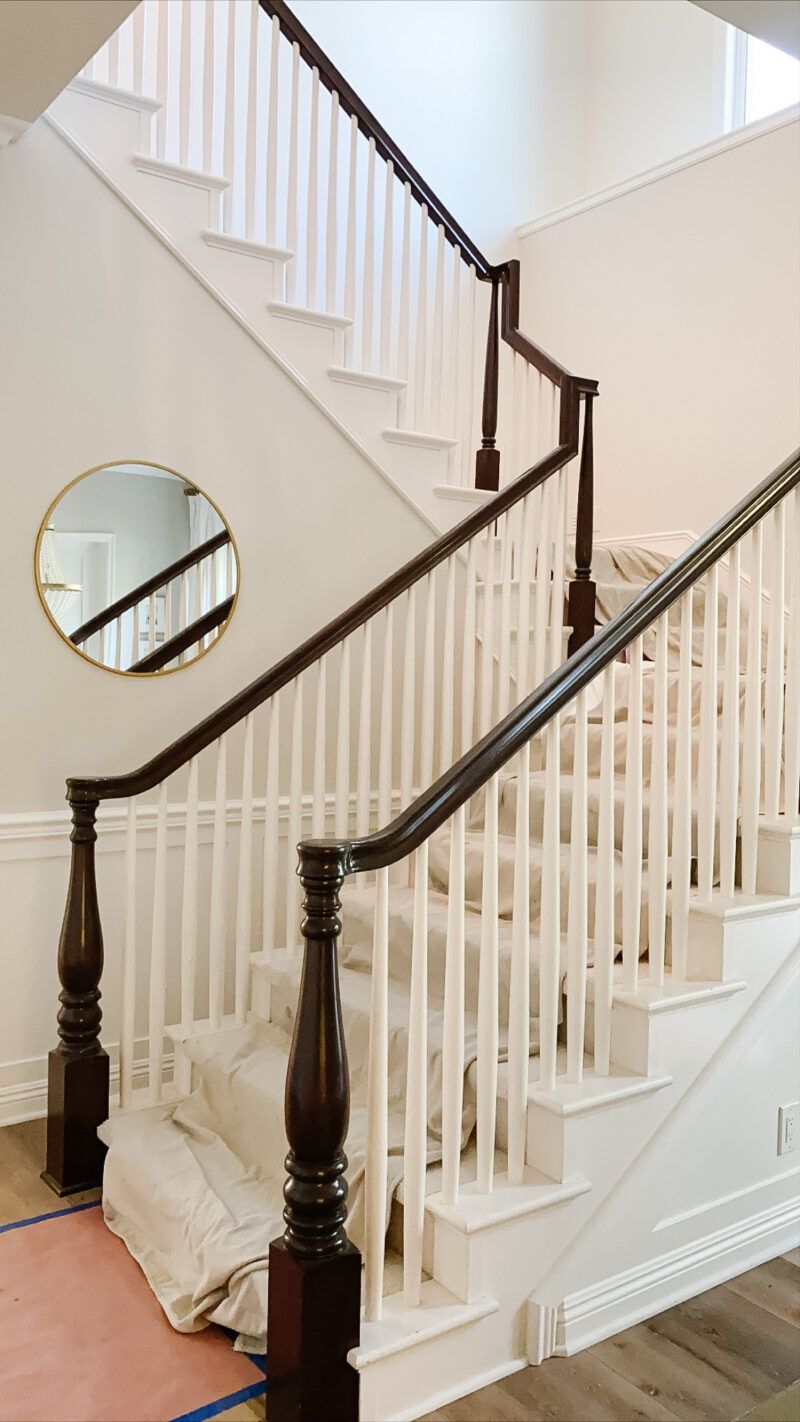
Stairs can be very tricky depending on what you have on them. For one of our projects, plastic was used. It’s slightly sticky and creates a nice barrier. The potential problem with that is that when pulled up, it can leave a sticky residue behind. What’s the problem with that? Well, you then walk on it with dirty socks or feet and all of that dust and dirt sticks to the stairs. It destroyed our white carpet. Nothing a good carpet cleaner can’t handle but something else to think about. This time around we used drop cloths. We weren’t left with a sticky residue but the tarps didn’t prevent all the dirt from going through. Add in me tripping on them and spilling black coffee. It went straight through to our white carpet. Brilliant. If one of my readers has the magic trick for protecting stairs, I am all ears.
HAVE SHOES SET ASIDE
This may sound silly, but you will not want to walk into the construction area with barefoot or socks. No only is it potentially dangerous depending on the debris on the floor, but it’s a mess. Keep a pair of slip on shoes next to the space. I used my daughter’s Crocks each time I needed to head in to check on progress or answer questions. By keeping a set of shoes just for that, you won’t track all of that white construction dust into other parts of your home.
VACUUM & DUST DAILY
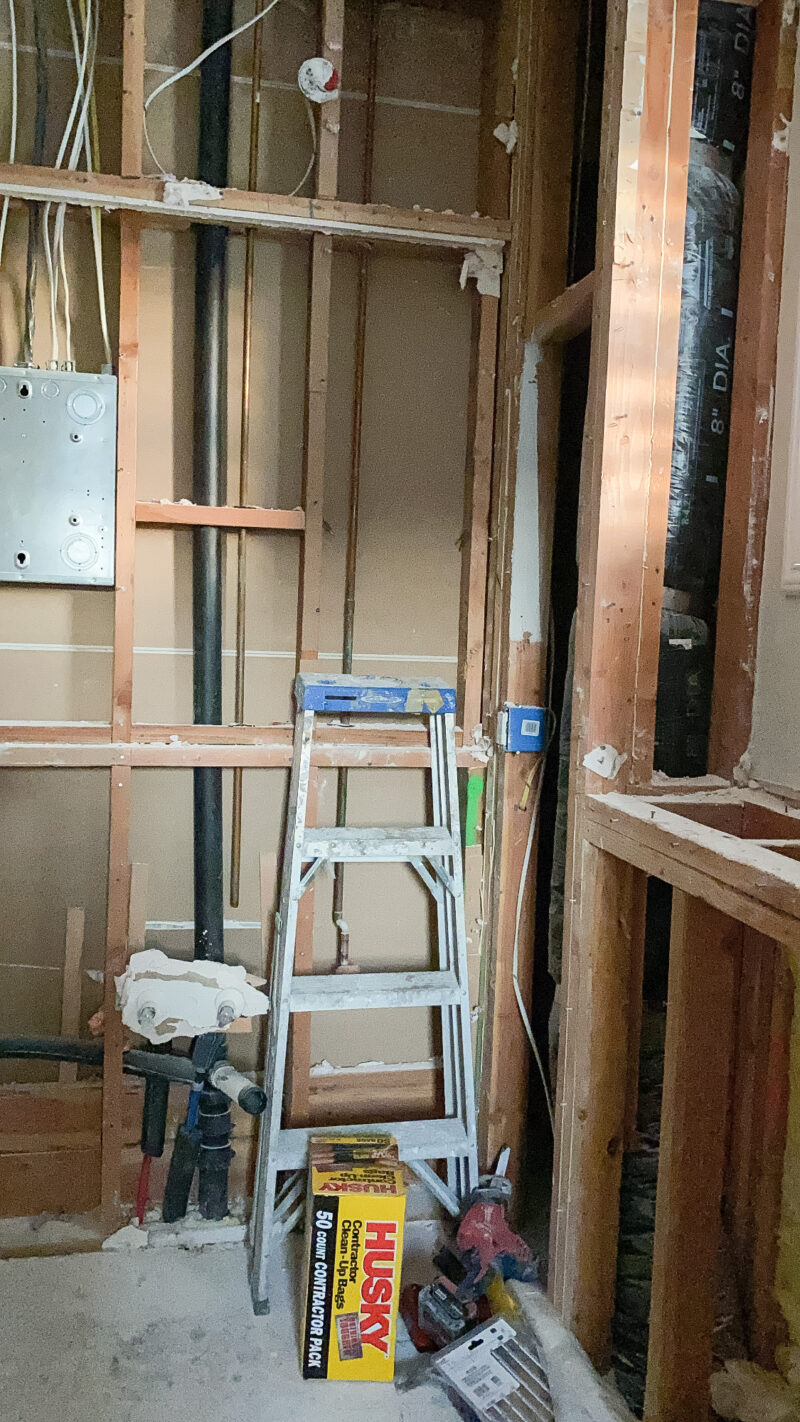
I highly recommend spending ten minutes each day doing a bit of cleaning. Our contractor was great and swept all of the paper runways and even shook the tarps out. But your railings and floors will be very dusty. Use a Swiffer cloth to do what you can. No need to go crazy but a quick sweep with the vacuum will prevent more dust from being carried throughout the home.
HOW TO CLEAN AFTERWARDS
The best part of saying goodbye to your contractor is knowing that your project is almost complete. A huge sigh of relief. Having said that, before you can have fun moving back into the space or even styling it, you’ll need to do a deep and through cleaning. We like to say, “All hands on deck!” over here. Just the other day, my daughter and I literally cleaned for hours. It’s a process. That fine dust (usually caused from drywall installation) is everywhere and thick. To clean her shutters we used a dust cloth (consider wearing a mask as it will be flying everywhere) a couple of times. Then we used a sponge with damp, warm water. I just had a bucket near me and kept ringing it out. She then dried each slat with a towel. We did the same for her floors and furniture. You may find that the floors take two or three passes to really get them clean. And after that, you sit back and enjoy the new space. That’s when the fun really happens. I can’t wait to show you her bathroom. We are almost there.
These tips were definitely not meant to scare you but just to help you prepare. Early on I had no idea how messy things could be and with prep work you can really save yourself from unnecessary headaches. I thought it would be fun to take a walk down memory lane and share a few of our finished projects below.
PAST HOME PROJECTS WE SURVIVED
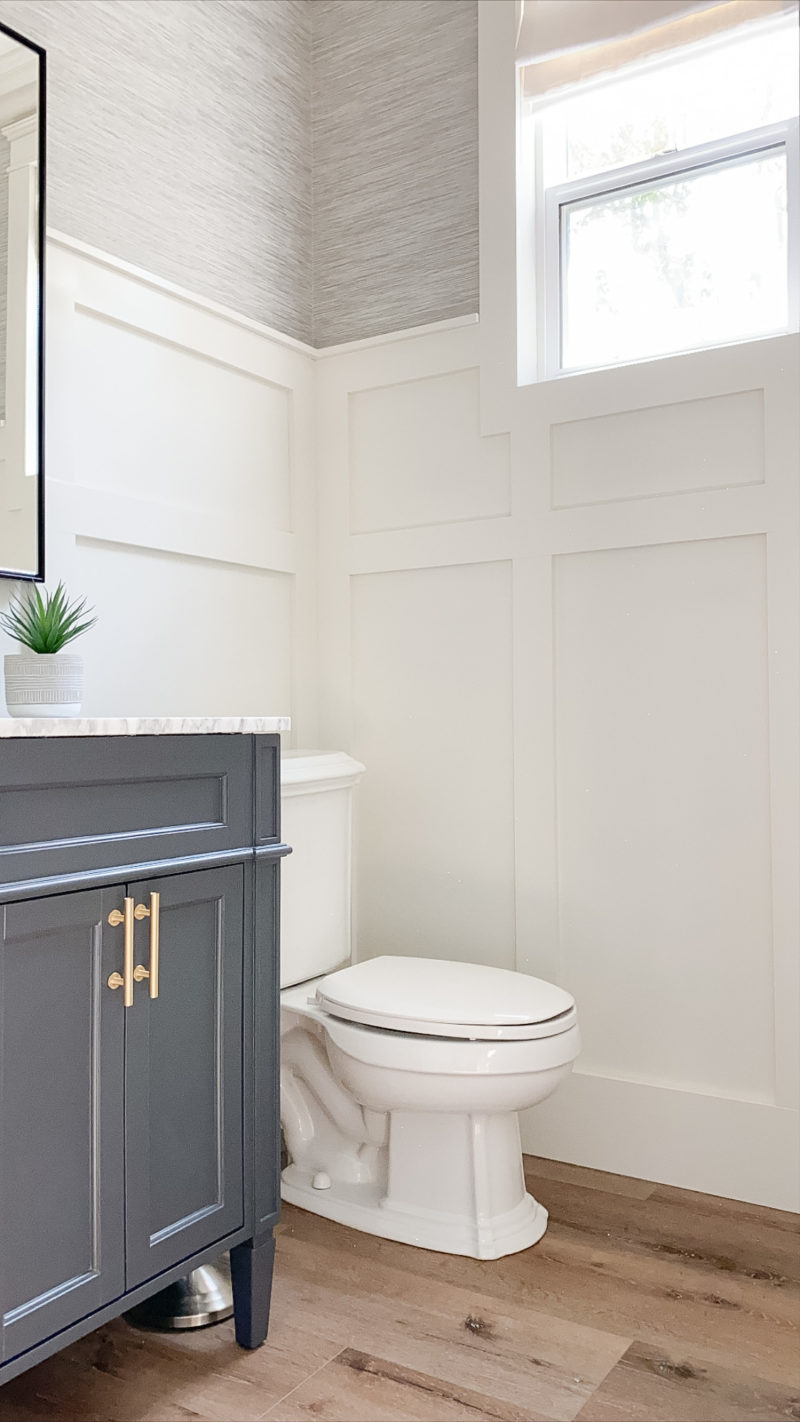

butler’s pantry (formally part of our garage)

our son’s room (formally an open loft)
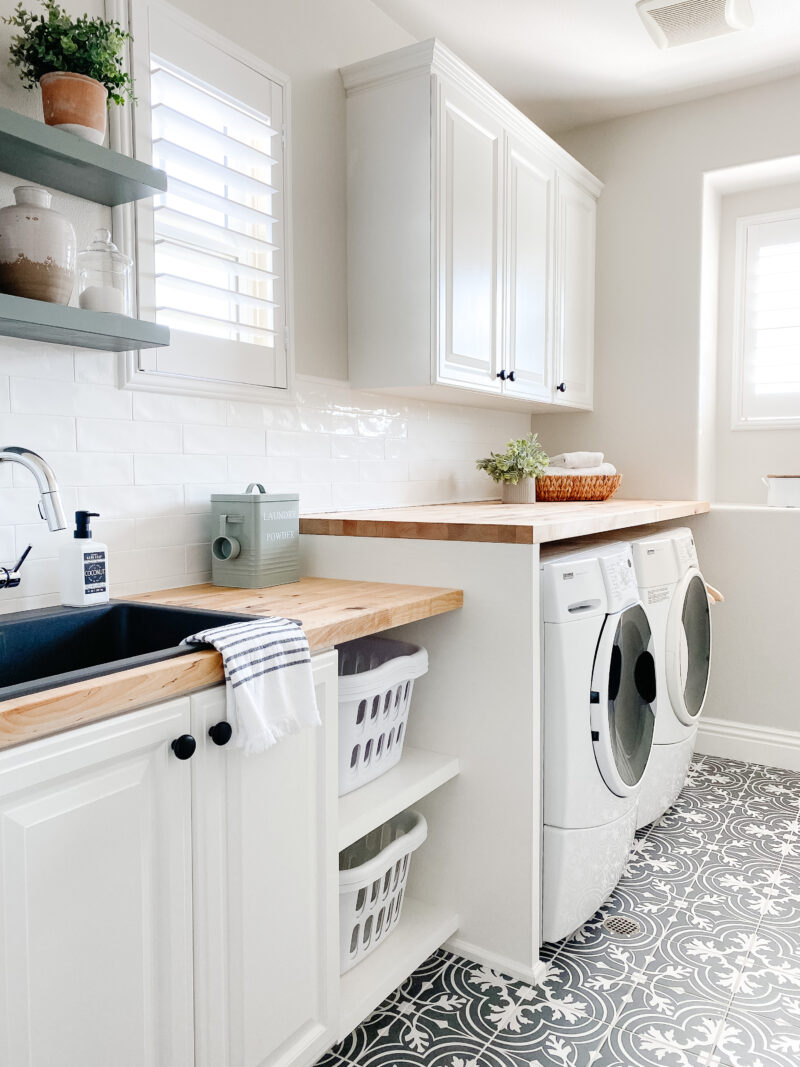
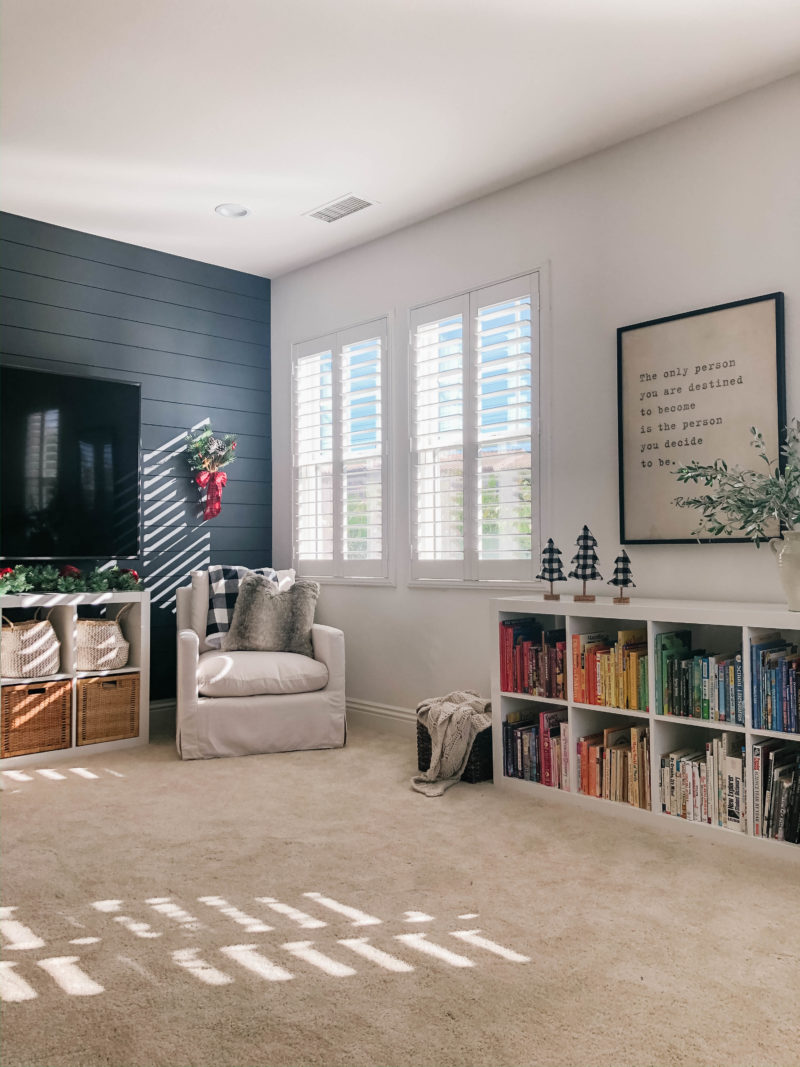
upstairs renovation | teen hangout space

I believe in making your home your own and finding how it can best serve your family. These spaces have brought us so much joy. And sure, there were some headaches along the way to get there but I wouldn’t change it. Good luck with your next home project. Enjoy the process and please let me know if you have any questions.
Great advice! I also love seeing the changes you have made to your own home, it is one of my faves!
We renovated our main bathroom while I was in my 3rd trimester of pregnancy. I would say that is on the list of what not to do – ha! Our contractor was fabulous, kind, and efficient. Going through a renovation during that part of pregnancy, however, is no joke.
So many valuable tips my friend – and the most beautiful home x
Hi Courtney,
I am a long time follower of your blog. Love all your posts. I especially enjoy your seeing your local adventures as I lived in Monarch Bay for a few years.
This remodel post was Spot On! Having done many, many projects over the years I could have used this advice.
Your home is lovely and I look forward to seeing your daughters bathroom reveal.
Pam Z
Barrington, IL